How do I use Panopto to record a video assignment?
Some instructors use software called Panopto to have students record and upload video assignments. Students have some options for how they can record and submit these videos. The first, and easiest, is to use Panopto Capture, which allows you to record using your web browser and doesn't require any software installation. This is the recommended method. Another option is to download, install, and use the Panopto software on your desktop or laptop computer. This requires the installation of software on your computer, so we only recommend this option for students who have trouble using Panopto Capture. The final method is to use a free app for your mobile phone or tablet, available free from the iOS and Google Play app stores. This method requires the installation of a mobile app and some configuration, so this is meant to be a last resort.
Instructions for all options will be outlined below.
Recording and Uploading Video With Your Web Browser Using Panopto Capture (preferred)
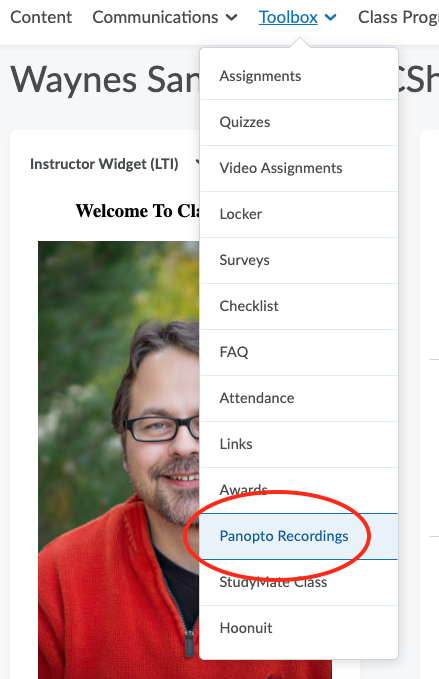
- From within the course in Brightspace, click on Toolbox > Panopto Recordings.

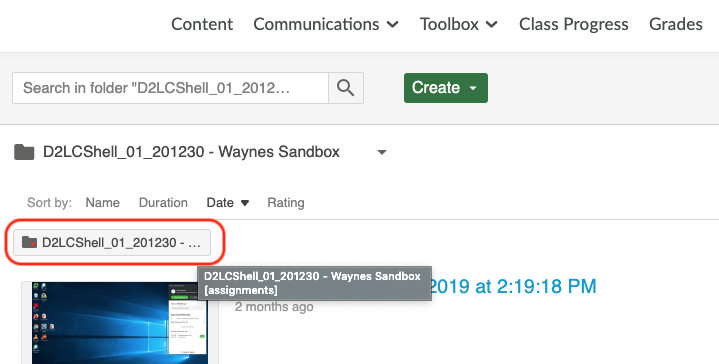
- Once Panopto opens within Brightspace, click on the name of the folder that corresponds with the assignment you are submitting. This example shows one folder, but if there are more than one they will be listed on one line along that row of the page.
- Now that you are in the correct assignment folder, click on the Create button.
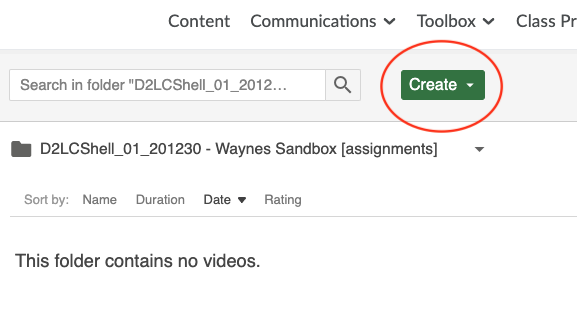
- Click on Panopto Capture.
- A new browser tab or window will open. If you are asked to allow the web page to access your microphone and camera, click allow.
- You should see a window similar to the image below. If you do not need to share your screen for this recording (if you are, see the additional instructions below), then you can click the record button and start speaking once the countdown ends.
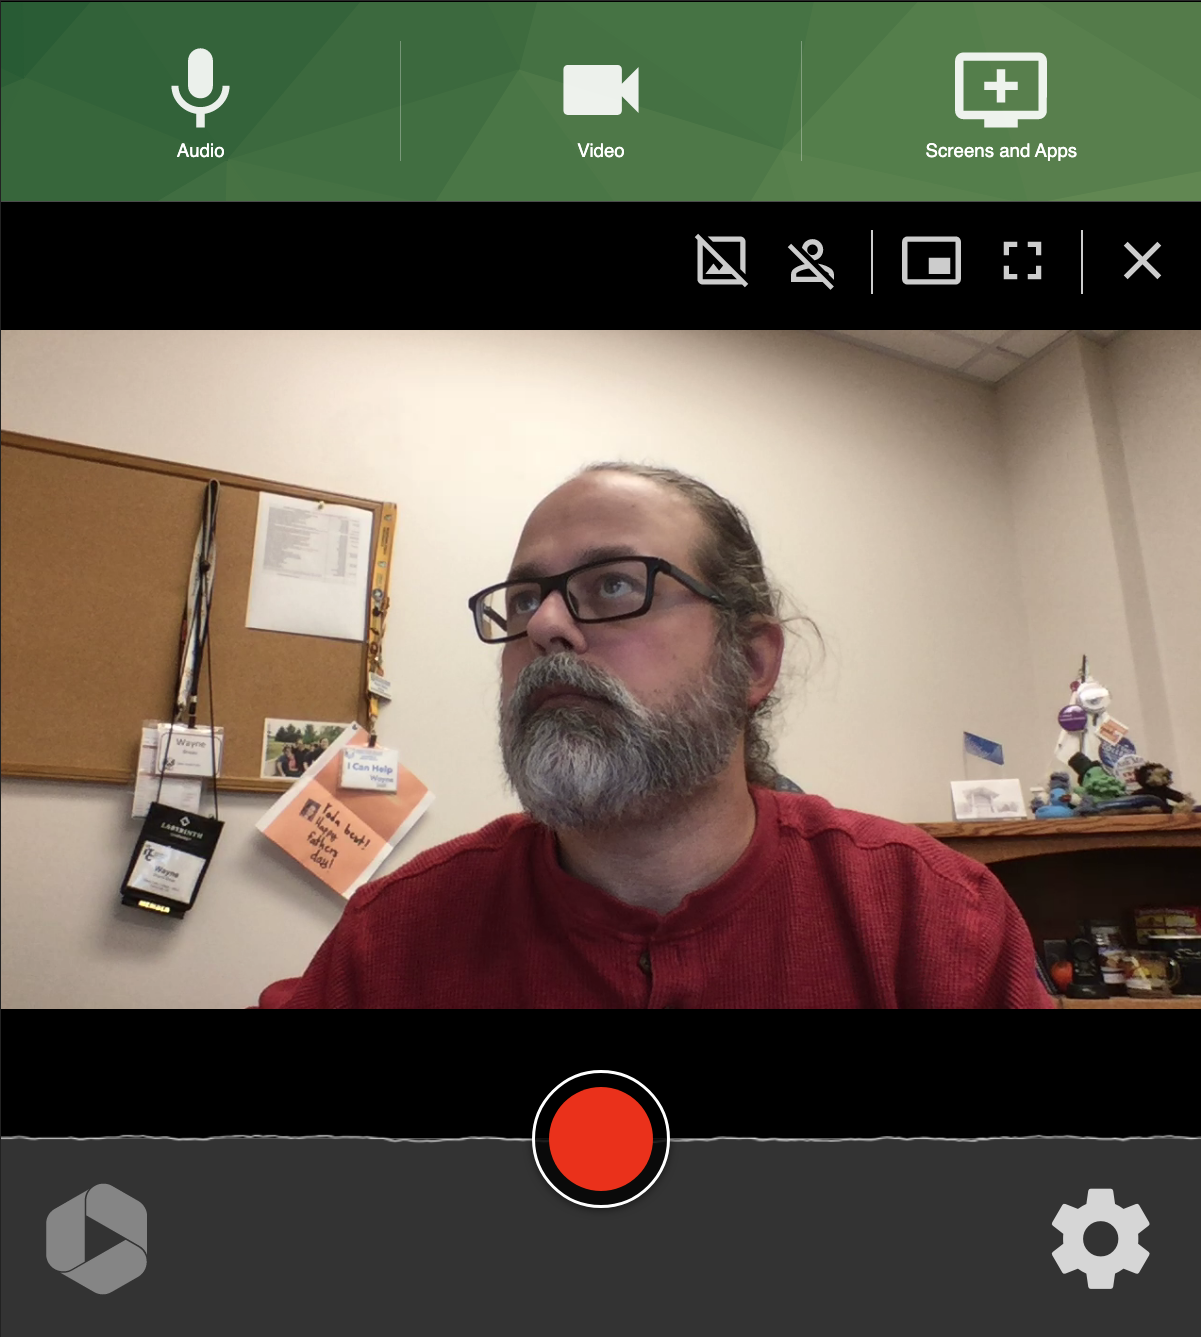
- If you need to share your screen or a program on your computer, click on the "Screens and Apps" button.
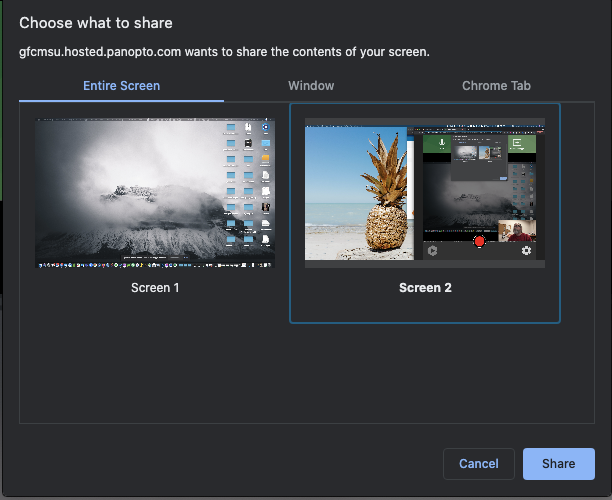
- In the window that opens, choose entire screen, window, or browser tab, and then select the screen, window, or browser tab you want to share.
- Click the "Share" button.
- Once you are finished recording, click the stop button.
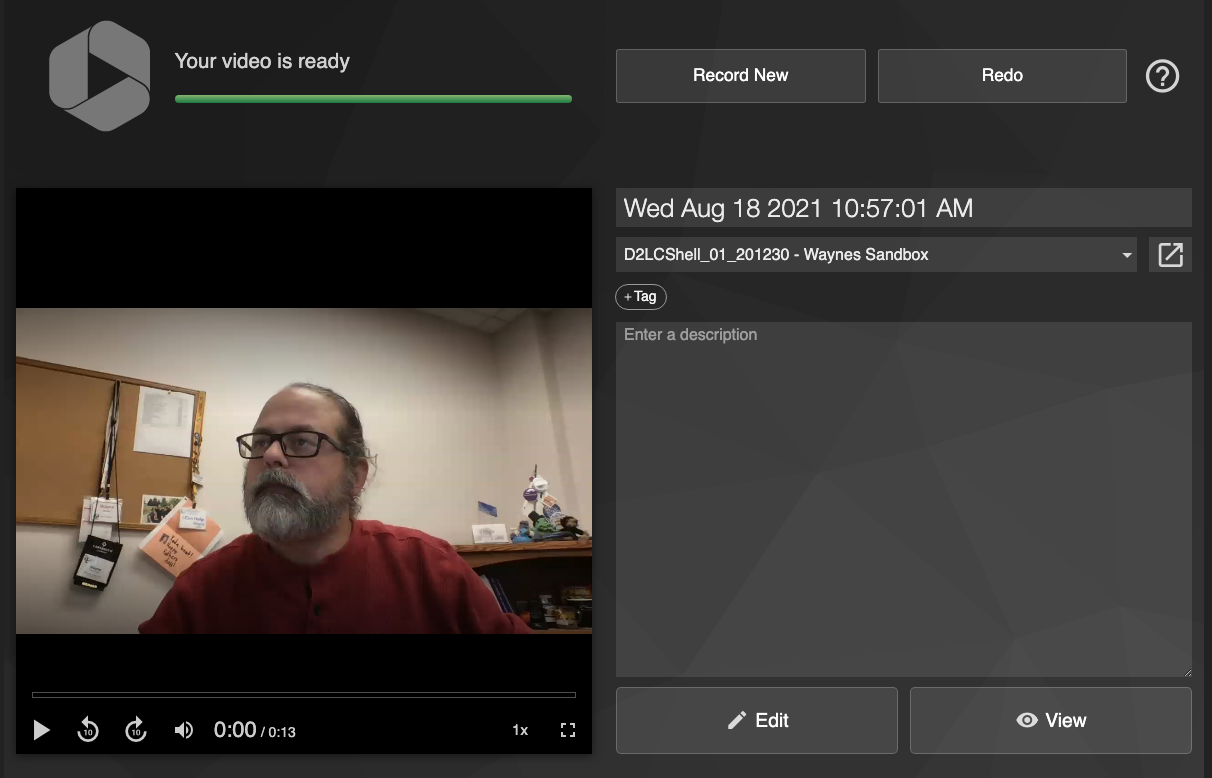
- A window will come up where you can enter a title for the video. By default, it will name the video with the date/time of the recording. Pay attention to the status in the top left corner, as it will tell you when you are safe to close the window.
Recording and Uploading Video Using Panopto Software On A Computer
- From within the course in Brightspace, click on Toolbox > Panopto Recordings.

- Once Panopto opens within Brightspace, click on the name of the folder that corresponds with the assignment you are submitting. This example shows one folder, but if there are more than one they will be listed on one line along that row of the page.

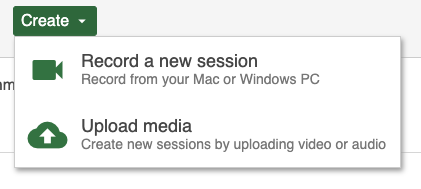
- Now that you are in the correct assignment folder, click on the Create button.
- You have two options at this point, if you have previously recorded your video and it is on your computer, you can select Upload Media, select the video file, and upload it. If you need to record your video assignment, click on "Record a new session".
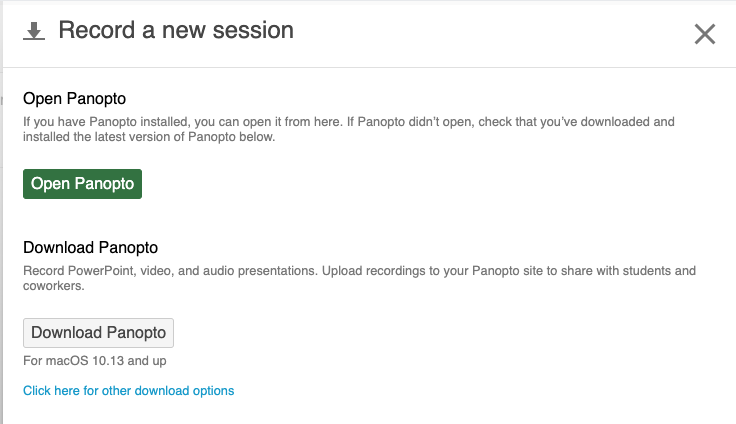
- When you see a window similar to the one below, you will do one of two things.
- If you have previously downloaded and installed Panopto, click on "Open Panopto".
- If you do not have Panopto installed on your computer, click on "Download Panopto" and follow the instructions to install the software.
- Once Panopto is open, f you only need to record yourself and not your computer screen, look for the source drop-down menu and select none.
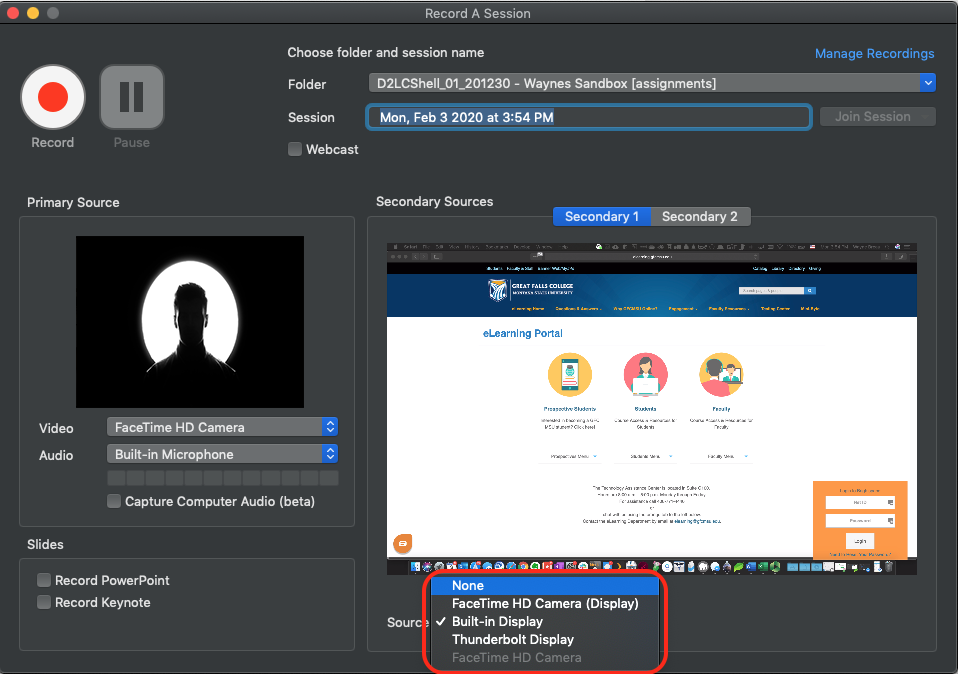
- Now that you are ready to record, click on the record button and record your video.
- Once you are finished, click on the stop button (it's in the same place as record).
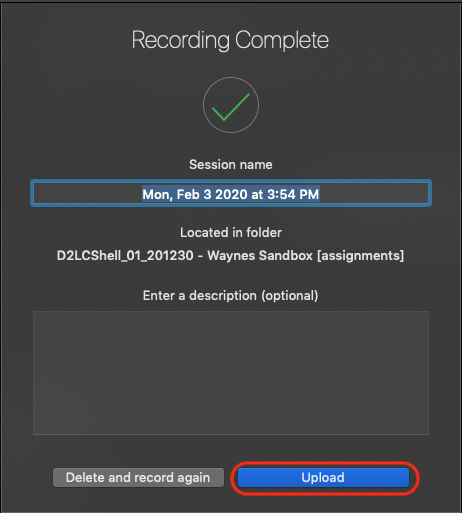
- You will get a "Recording Complete" window. Give your video a name (be sure to refer to the assignment instructions for information on how to name your video) and click on the "Upload" button.
- The Manage Recordings window will appear and you will see your video's upload status. DO NOT QUIT OUT OF PANOPTO UNTIL THIS SHOWS THAT THE VIDEO IS 100% UPLOADED. It will show processing after the video has uploaded, but the processing is done at Panopto.

Recording and Uploading Video With the Panopto Mobile App
- Download, install, and open the Panopto mobile app from your device's app store.
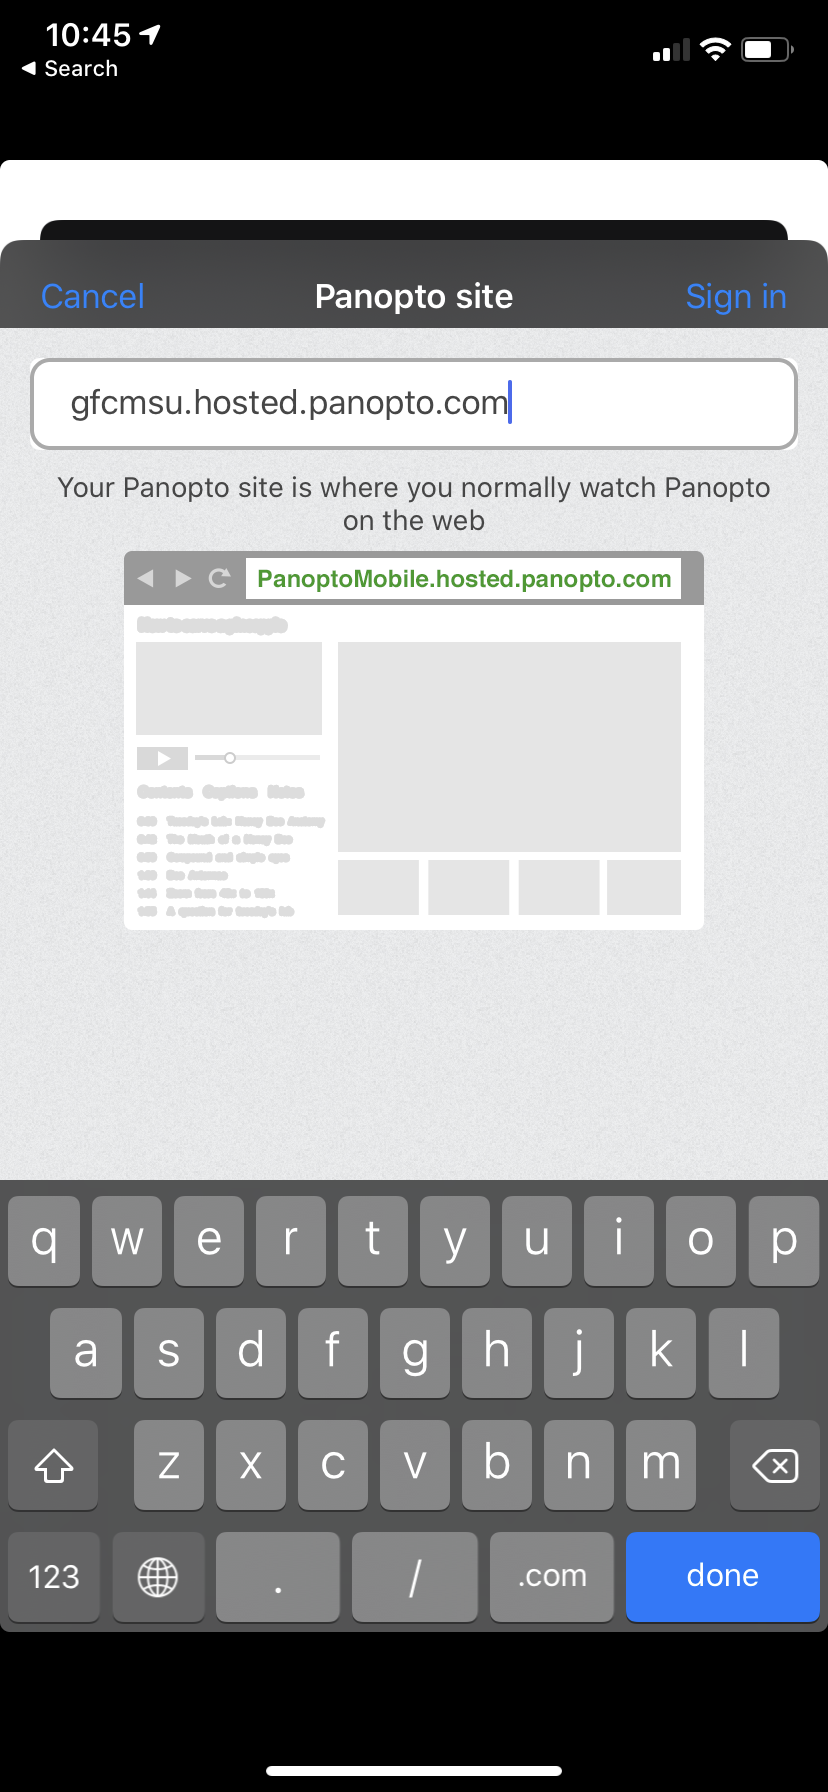
- Click Enter URL. (This step is very important and the app will not work as expected if this is not done.)
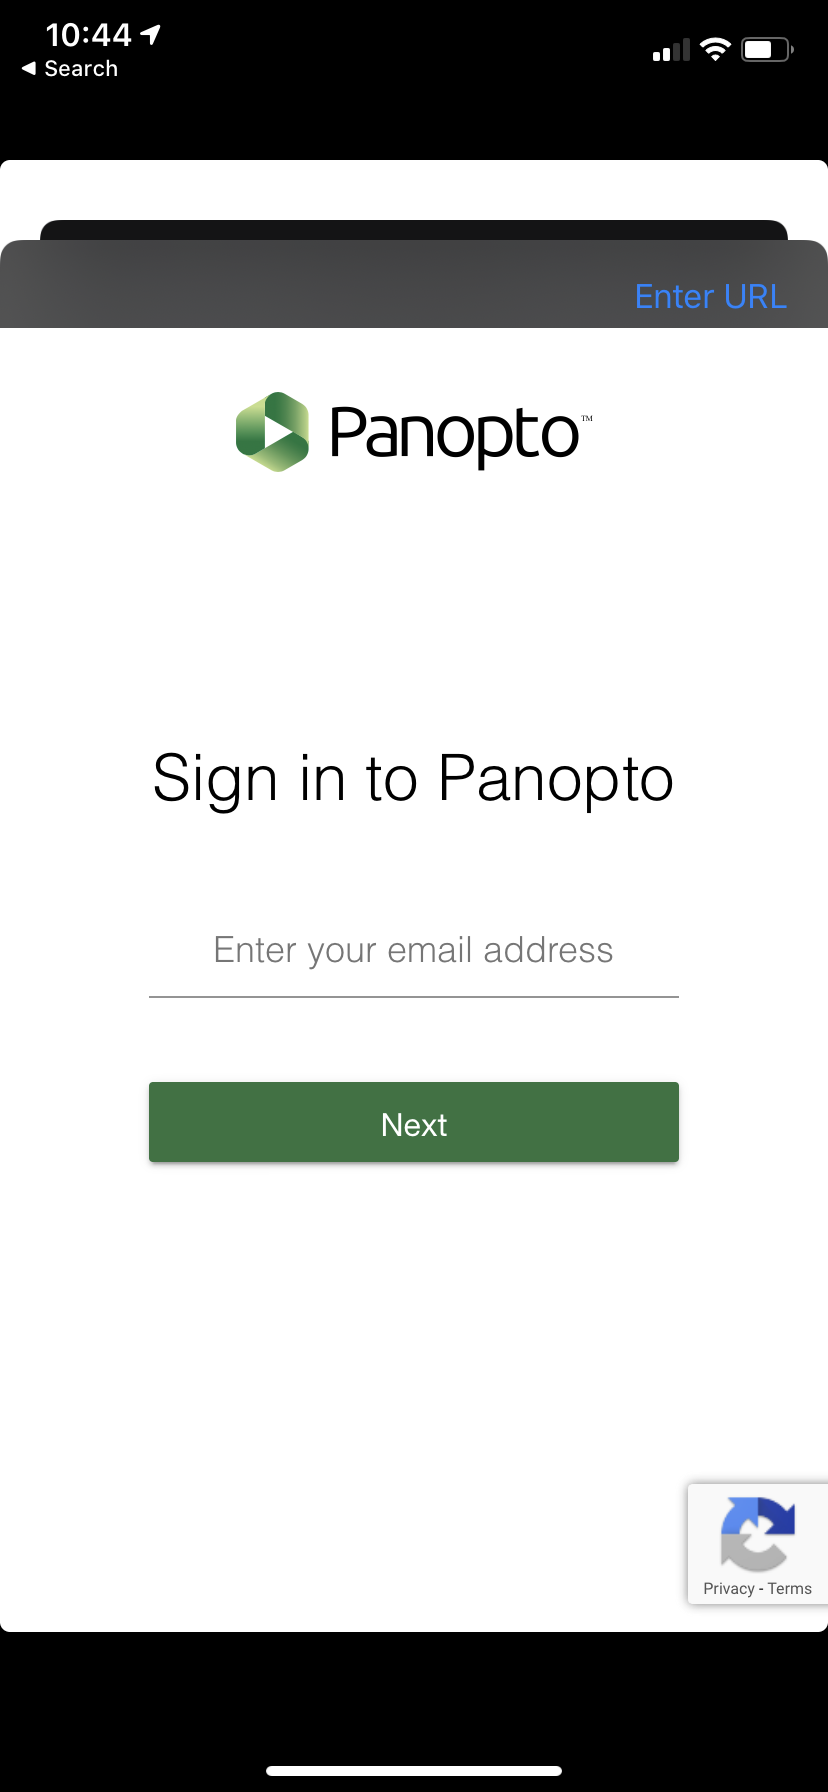
- Enter the following into the box gfcmsu.hosted.panopto.com and click "Sign In".
- You will get the following screen. Leave the drop-down menu on "Panopto External Learning Tool" and click Sign In.

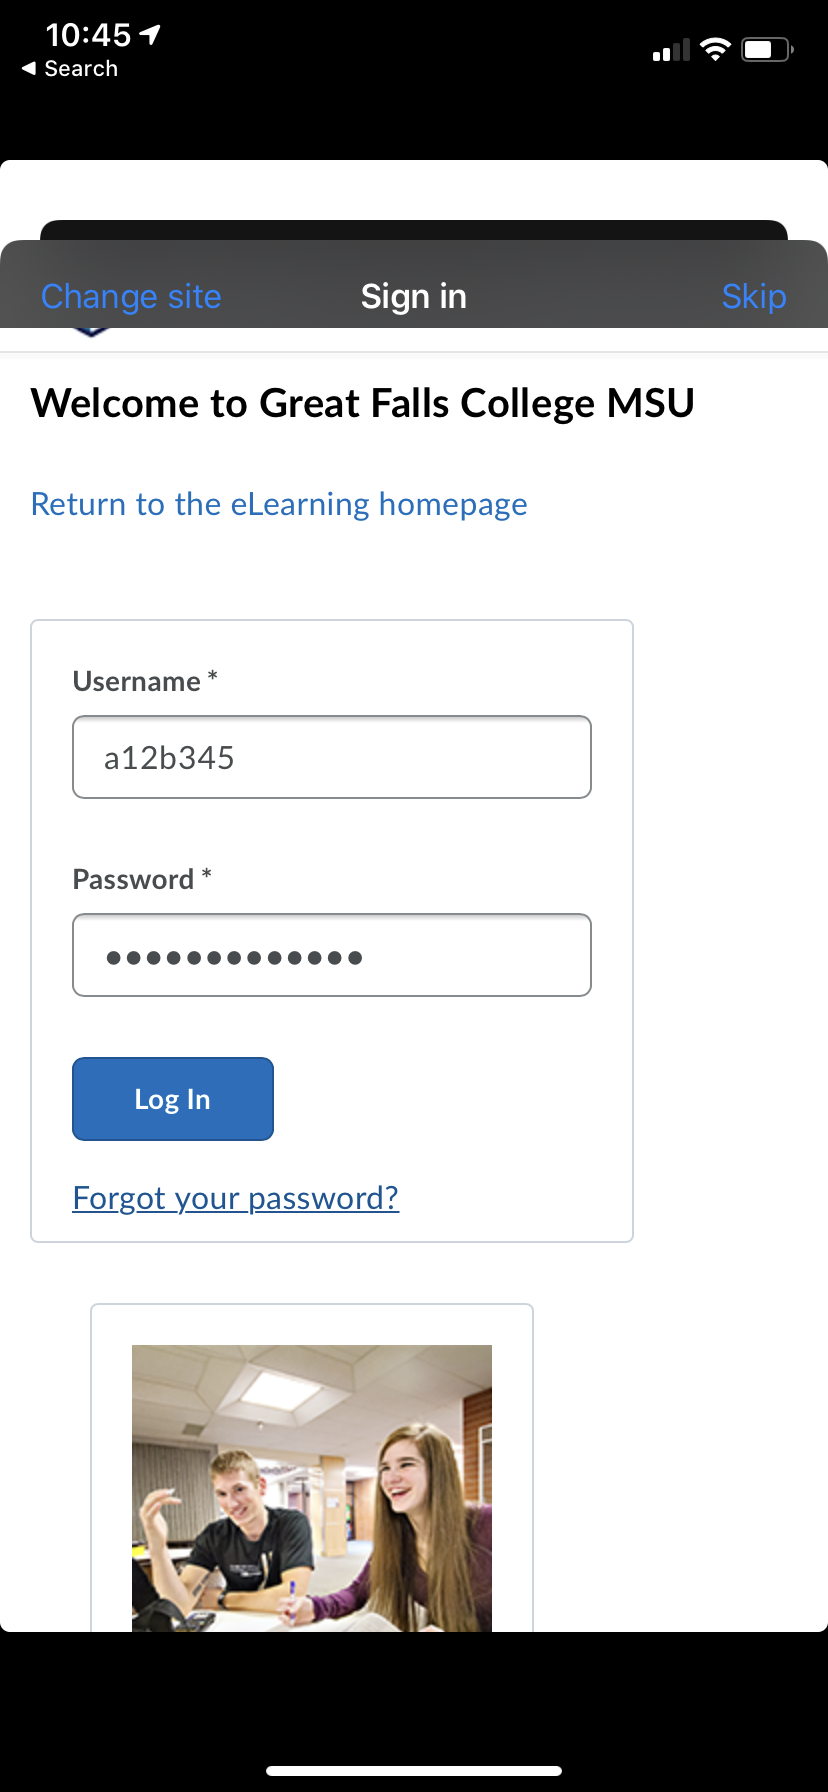
- Enter your Net ID and password. These are the same credentials you use to login to Brightspace (D2L).
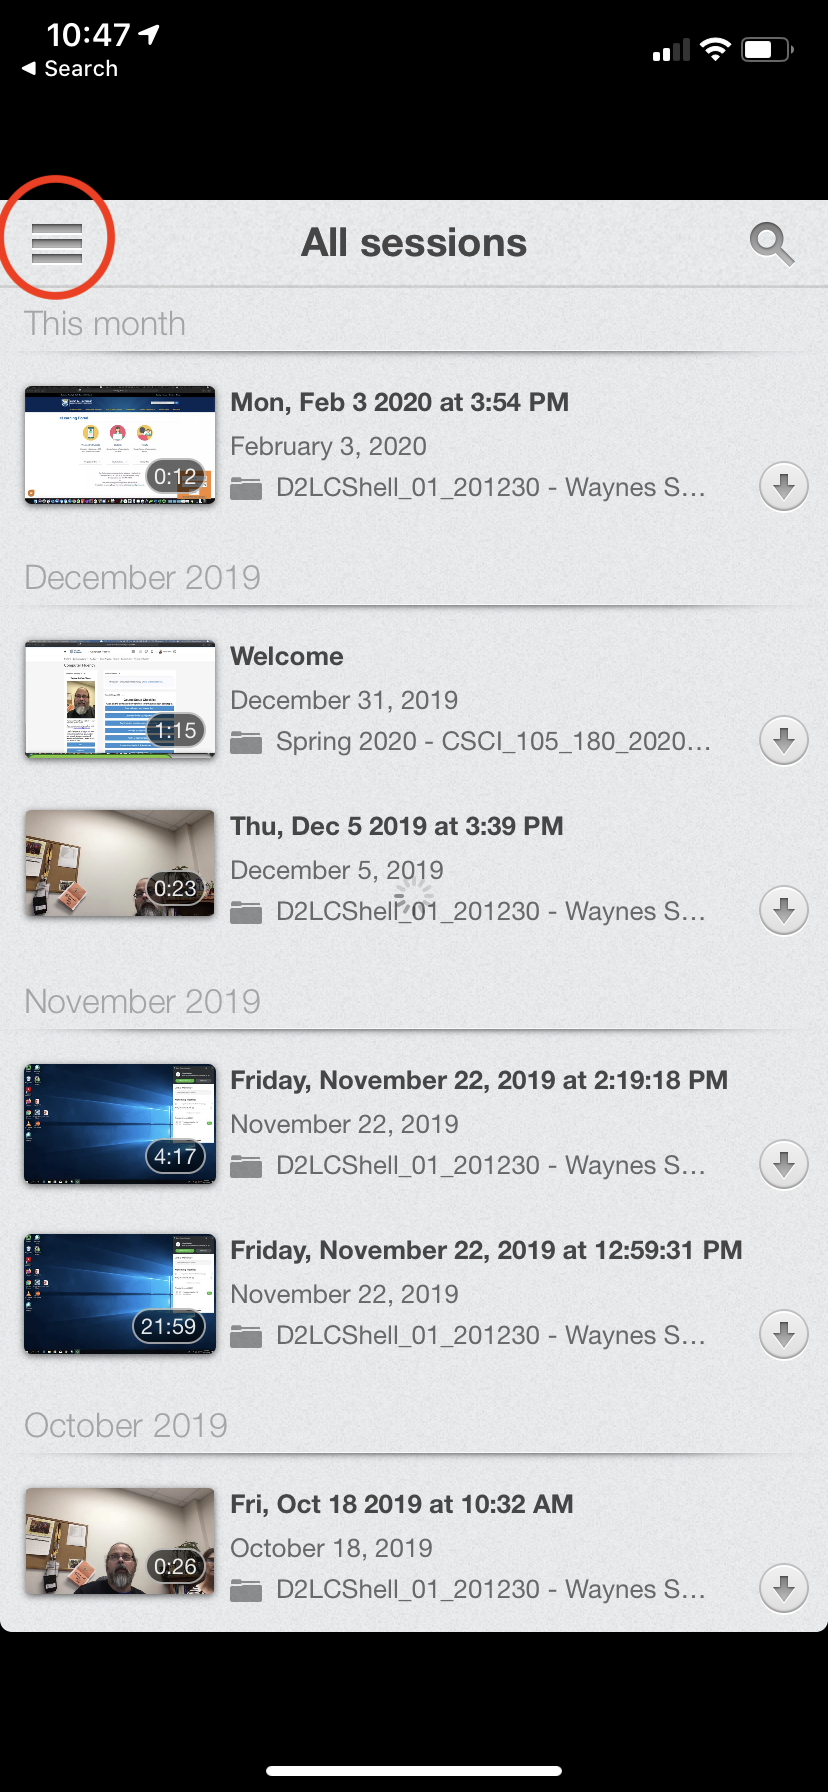
- Once you are logged in you will see a screen similar to the one below. Click on the menu icon. (Circled in the image below)
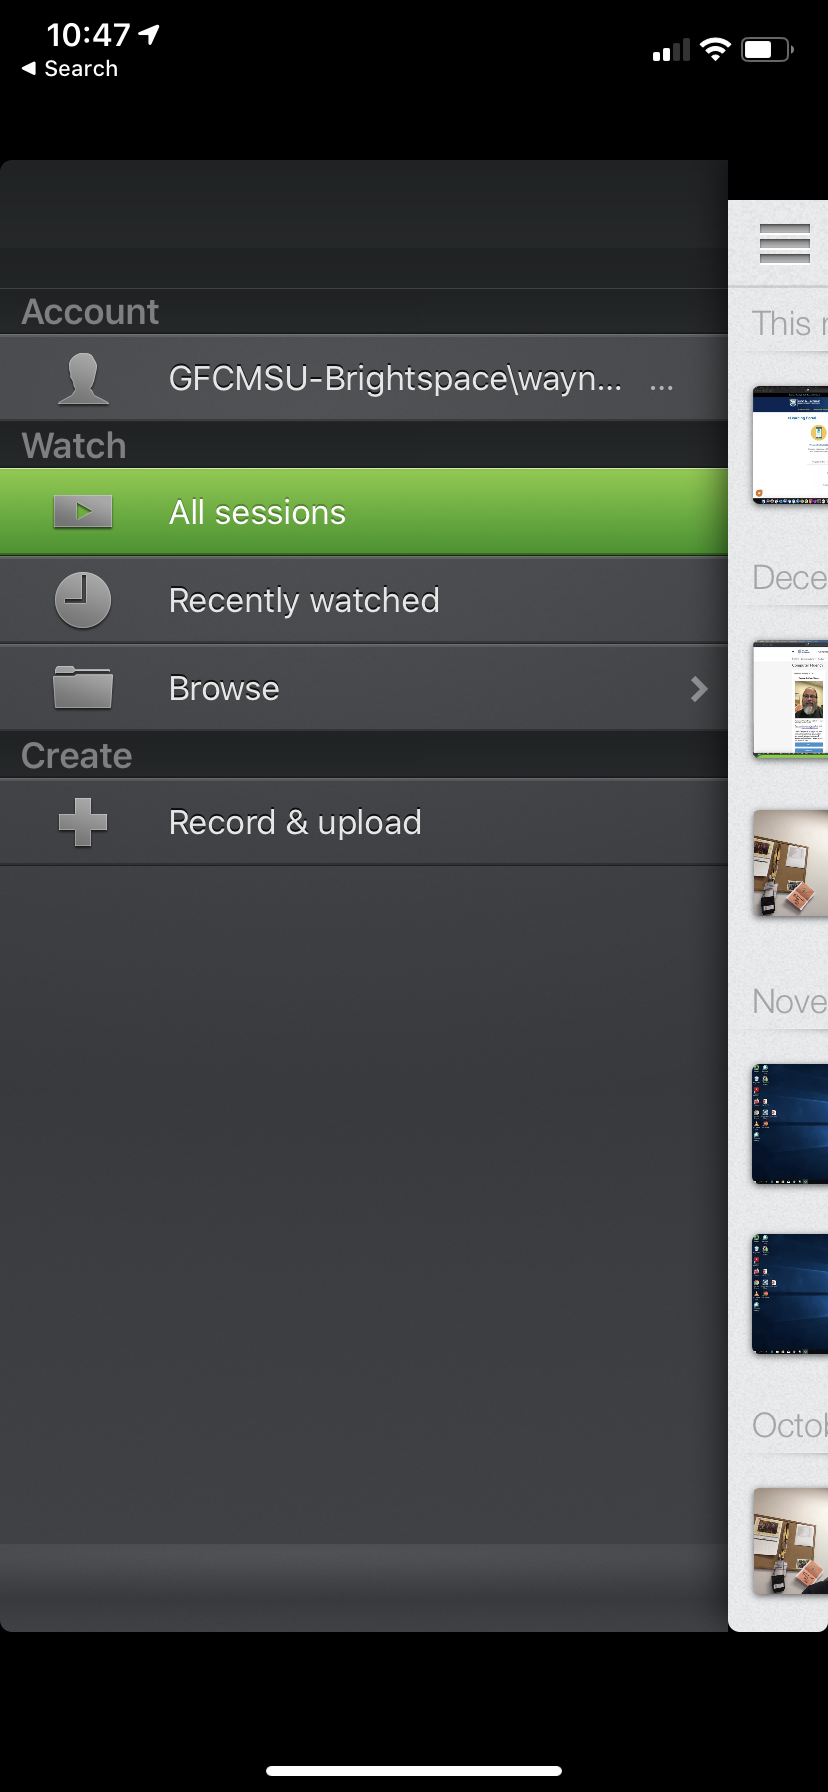
- Click on Record & Upload.
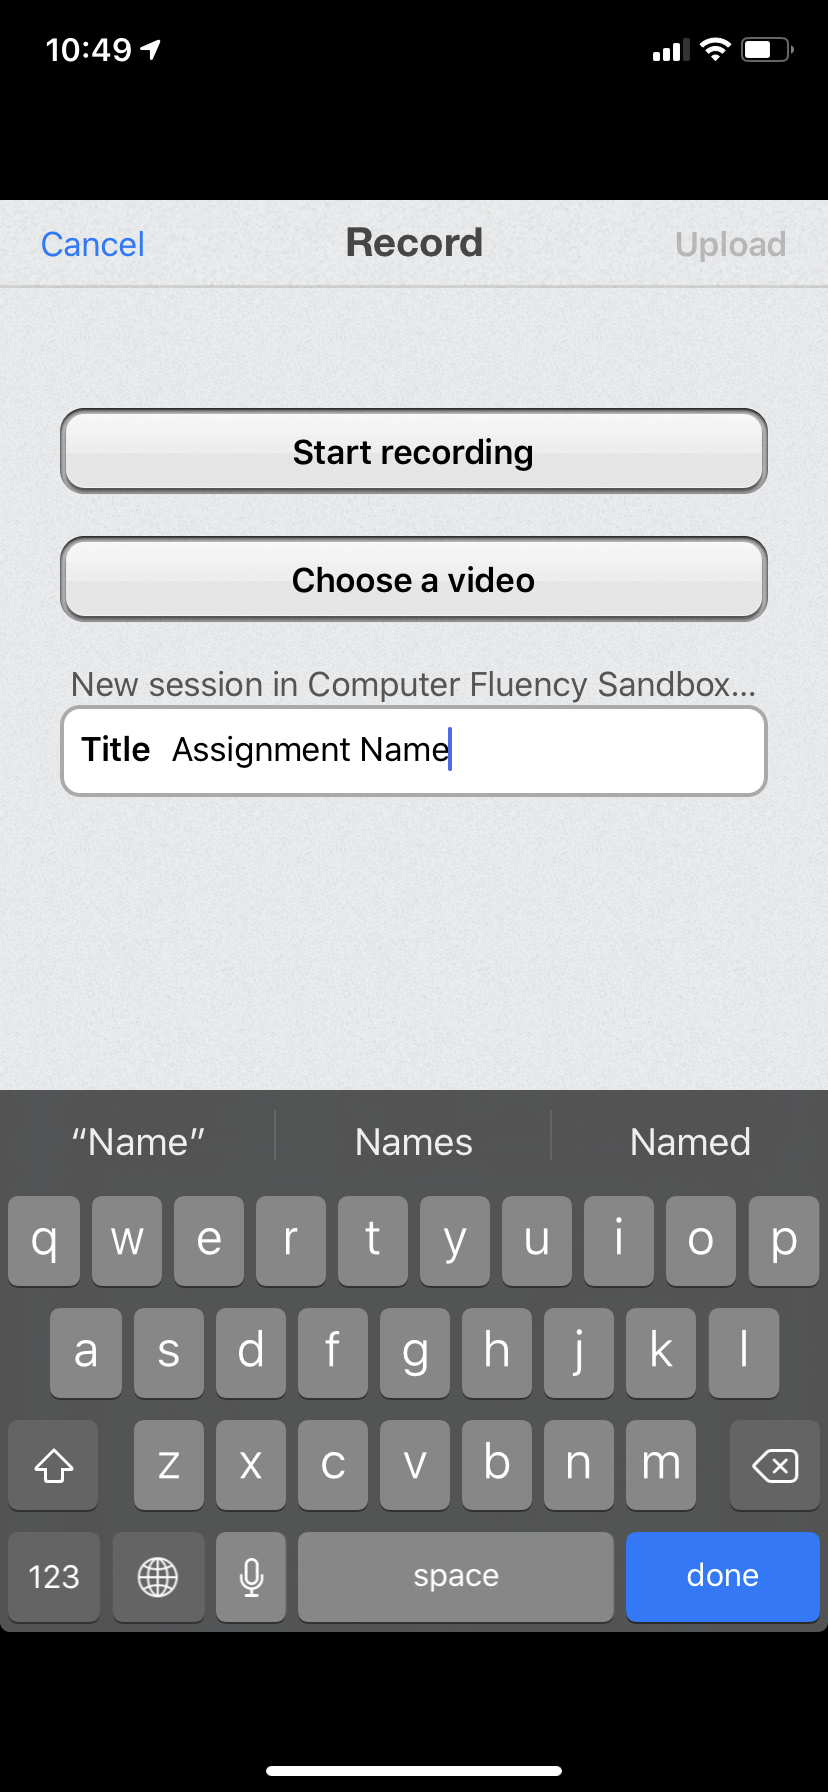
- Click in the "Title" field, enter a name for your recording, and click Start Recording.
- If you are prompted to allow Panopto to access the camera and microphone, click OK. If you click "Don't Allow" you will not be able to record video and audio with the Panopto app.
- Switch the camera view, if necessary, and click on the record button.
- Click "Use Video".
- Double check the name you've given your video and click on "Upload".
- You will then see your video upload to Panopto, process, and finally be marked ready.